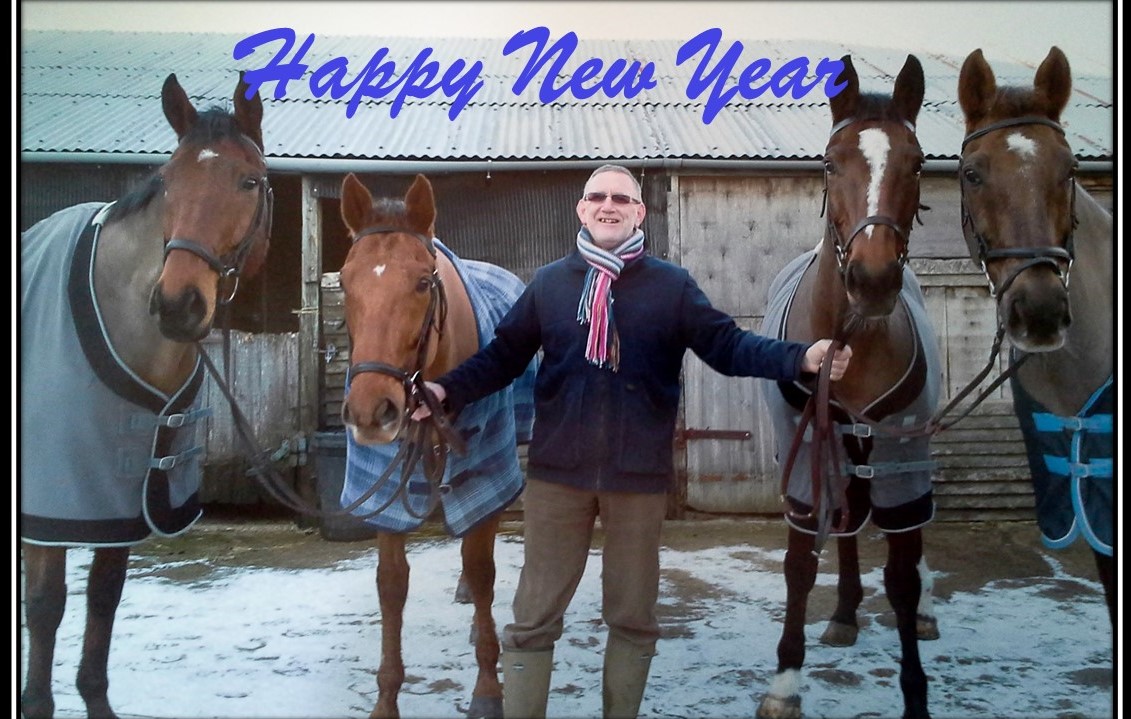
2026 has come in with a bit of a blast quite literally for we are experiencing a blast of cold air and snow that has swept down from the Arctic. Here, in our part of the Cotswolds, the snow and ice are more of a nuisance than anything else for there is very little snow cover and the roads have been quite treacherous. The country folk of yesteryear always said that if the snow hangs around there’s more on the way – time will tell. It’s been some years since we had deep snow blocking the lanes.

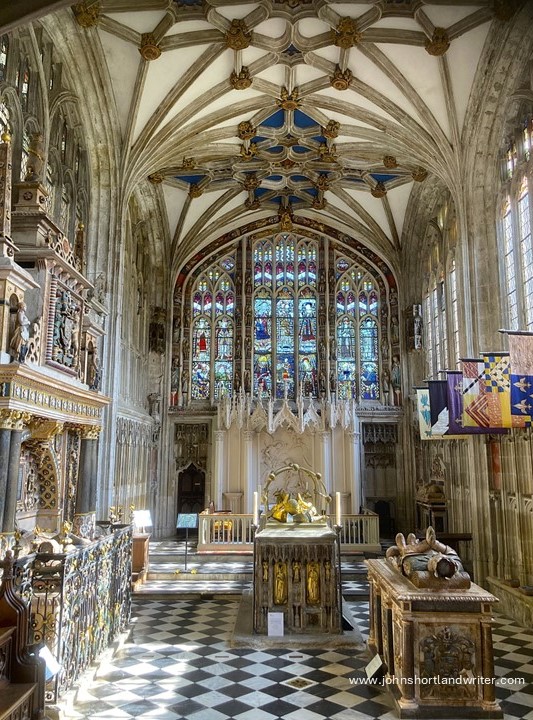
In part 1 of the review (link here), I reflected on the first six months of the year. It had been quite a successful year for me researching my family history. I’m fortunate for I can trace them back very many centuries – at the moment I’m reading a book about them in the 1400s! I also took the opportunity to finally visit the chapel (link here) where one is buried and nothing had prepared me for the splendour of it or how strangely moving the experience was. I also met with Canadian cousins (this time, living ones!) for the first time and we all commented how strong family bonds can be. That, and a prompt from you, one of my readers, made me reflect on those other great influencers in our lives, mentors.
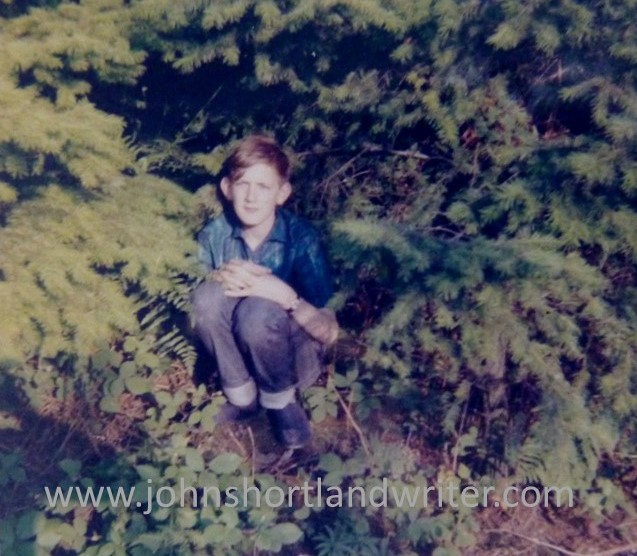
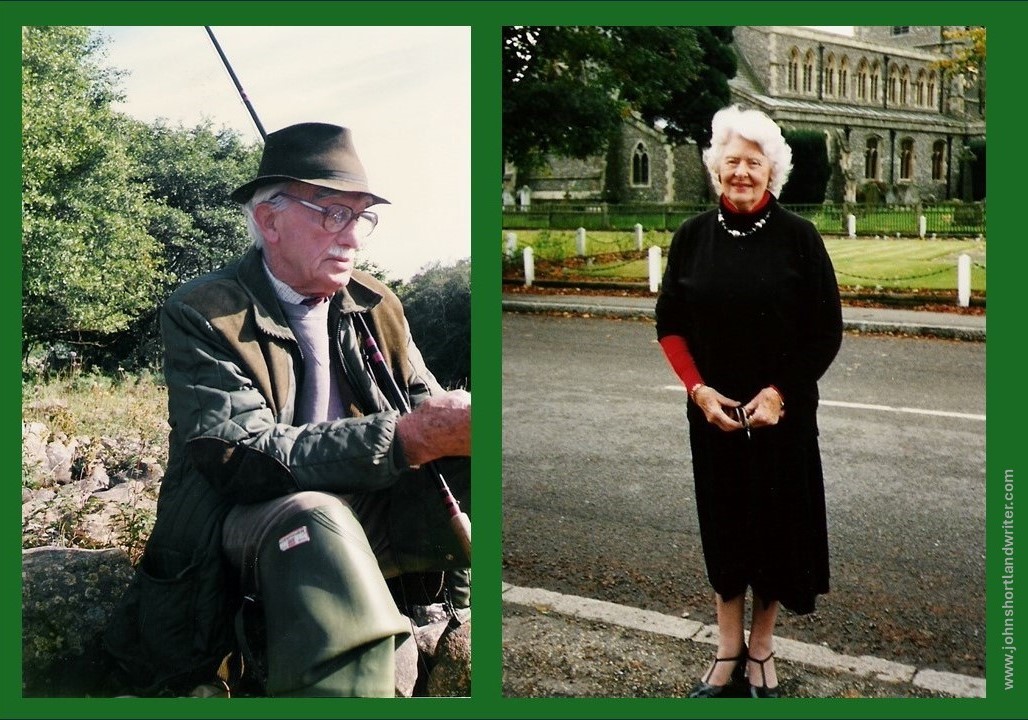
In June I had written about my first pair of mentors, Dick and Lorna French who lived on a remote farm in Exmoor National Park. Their story can be found here. The following month, I wrote about Cyril and Pamela Heber Percy who I first met in my early thirties. How different they were from Lorna and Dick but how equally valuable were the life lessons they taught me! The Heber Percy’s had both been brought up by wealthy, landed parents. Cyril, who was born in 1908, had come from a background that we now associate more with Royalty: it was a house with liveried footman and a strict regime. Pamela’s family were very different for she was brought up in Ireland where the discipline was far more relaxed. Both had a deep love for nature and a huge interest in people. They, like most mentors, had the ability to make you feel very special. It was with Cyril that I first learnt to fly fish, and it was he that gave me the ability to recognise where the fox had lain and the badger pushed through a hedgerow – more of them in this link here.
It was back to Exmoor for August (link here) to explore the three churches where according to local rhyme and legend no priest would ever go to. Was it due to them being so remote or was it due to witchcraft? Or bandits? Or lepers? Whatever the reason, they are well worth visiting today for they sit in some of the most stunning countryside that you’ll find in England, and in August the hills are cloaked in a purple haze of heather flowers. One of the three churches is world famous for it was at Oare that Lorna Doone was shot as she stood at the altar on her wedding day. As with all my blog posts, there are lots of photos to demonstrate what a beautiful area I have been lucky enough to have spent so much time in since my teens.

September found me writing about the chance contact by a Cheltenham art gallery asking me for help with a series of watercolours of London street scenes they had acquired. It turned out that they had been painted by yet another ancestor of mine (they have since been sold and are now in the United States). My own artistic talent is restricted (as one kind person described it) to painting with plants – I can visualise garden design and create it but I could never offer clients an artist’s impression! In the blog I explored the various connections I have to people that are skilled artists ranging from present day to those in the past. It was a fascinating task and not one I’d ever thought much about until I received the prompt from Cheltenham. To see the London paintings as well as the others I found click on the link here.

It was very much back to the Cotswolds for Halloween. We live very close to the Rollright Stones, parts of which date back six thousand years – so older than Stonehenge. It has long been a place of ritual and superstition and Rollright and its surrounding villages have an equally long association with witchcraft. In 1875, a ritual murder was committed. Poor, elderly Anne Tennent was harmless enough but accused of witchcraft with brutal consequences. In my research for the blog, I came across a hand-written eye-witness report and had email correspondence with her 4xgreat-grandaughter. What I hadn’t expected to find was that a similar murder was committed very many years later although the connection to witchcraft was not disclosed until the late 1960s, so well within my lifetime. And then there are the tales of the mysterious black, headless dog being seen… When I visited the stones in October offerings had been lain upon them. Intrigued? Click on the link here to find out more.

It had been some time since I last wrote about gardening which is, of course, my hobby turned profession. One of the constant questions I’m asked – and often a tricky one to answer – is how to screen an unwanted view. November would be the perfect month for dealing with a problem like that so in Hide that Ugly Wall I looked at the various options. In the blogpost (link here) we looked at trellis, climbing plants, and ideas for planting in front of the wall, fence or whatever else needed screening. At the end of the post there is a list of plants of all types and sizes to help with selection.

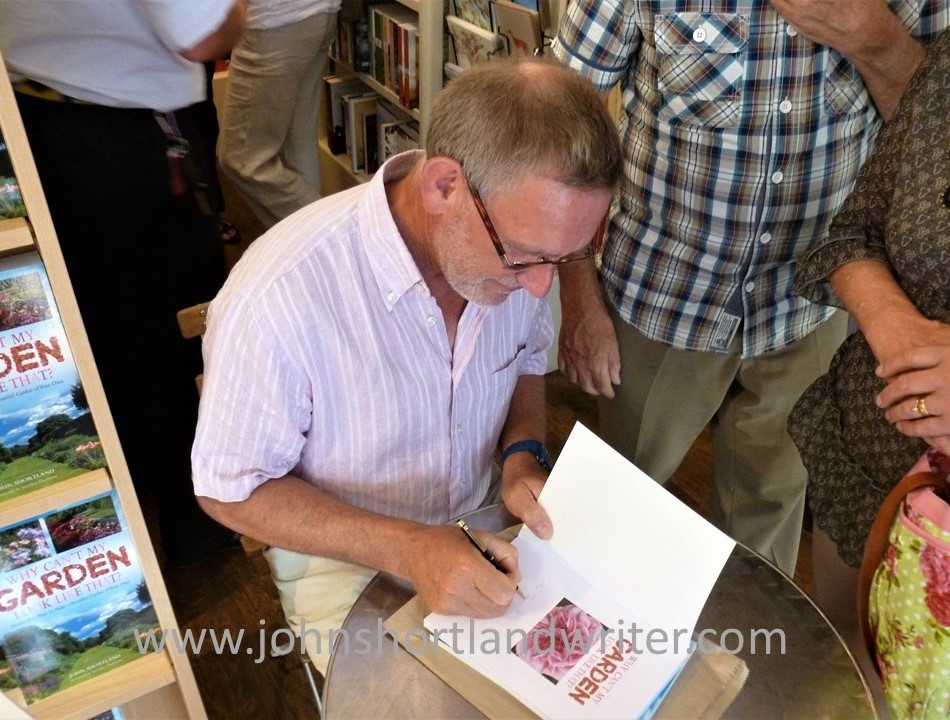
So the year came to an end with reflection upon what had been and 2026 begins a new year of blogging. As Life in the English Cotswolds enters its seventeenth year all that is left is for me to thank you all for helping to make it such a success. When I began in 2009 it was to be a short-lived experiment in combining text with images. I never anticipated that it would be read let alone develop into this! Now, I hear from people all over the world and have even met a few of you. It has received awards and featured in national newspapers, and it led to my being involved in setting up a literary festival. It was through this that I was approached to write my book on gardening, Why Can’t My Garden Look Like That? Who would have thought it?!
With every good wish for a happy, healthy and peaceful 2026. I’m very much looking forward to seeing what adventures arise and sharing them here. If you have any thoughts on topics, ask questions or just fancy a natter I can be contacted through the Get in Touch tab at the top of the page.