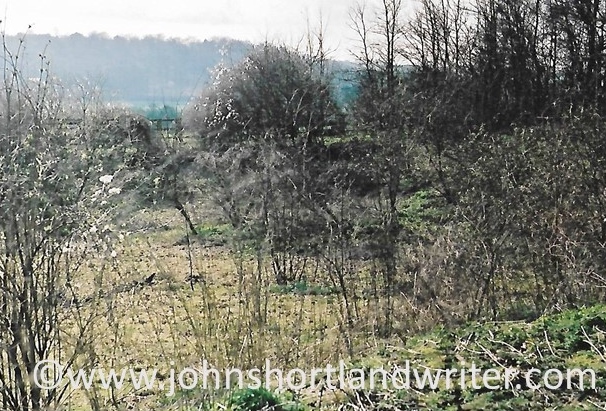
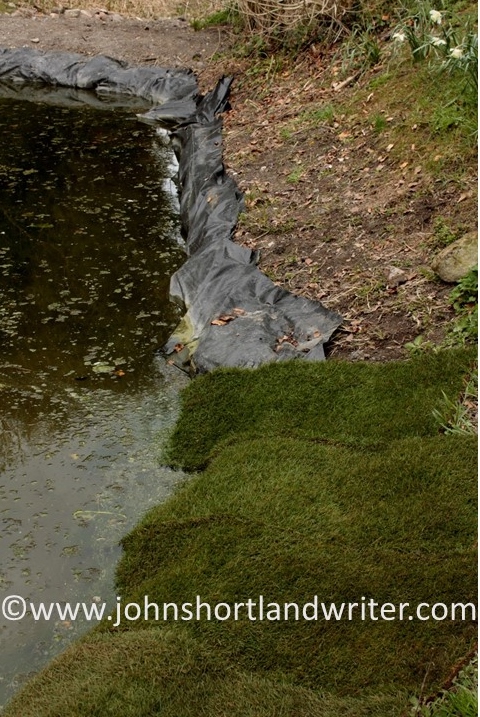
Over the years, as part of my work as a garden creator, I’ve had the pleasure of planting several rose gardens, mostly on quite a modest scale. However, that changed four years ago when I was asked to design a garden from what was a steeply sloping area close to the house. I had just retired and so the client, whom I’d known for many years, agreed that I would only create the design and oversee the purchase of plants but everything else others would do. In effect, it meant that I had all the fun tasks without having to commit to working endless hours as their own team of builders and gardeners would do all the hard labour. Just as well, as the end design involved considerable earth moving and wall building…


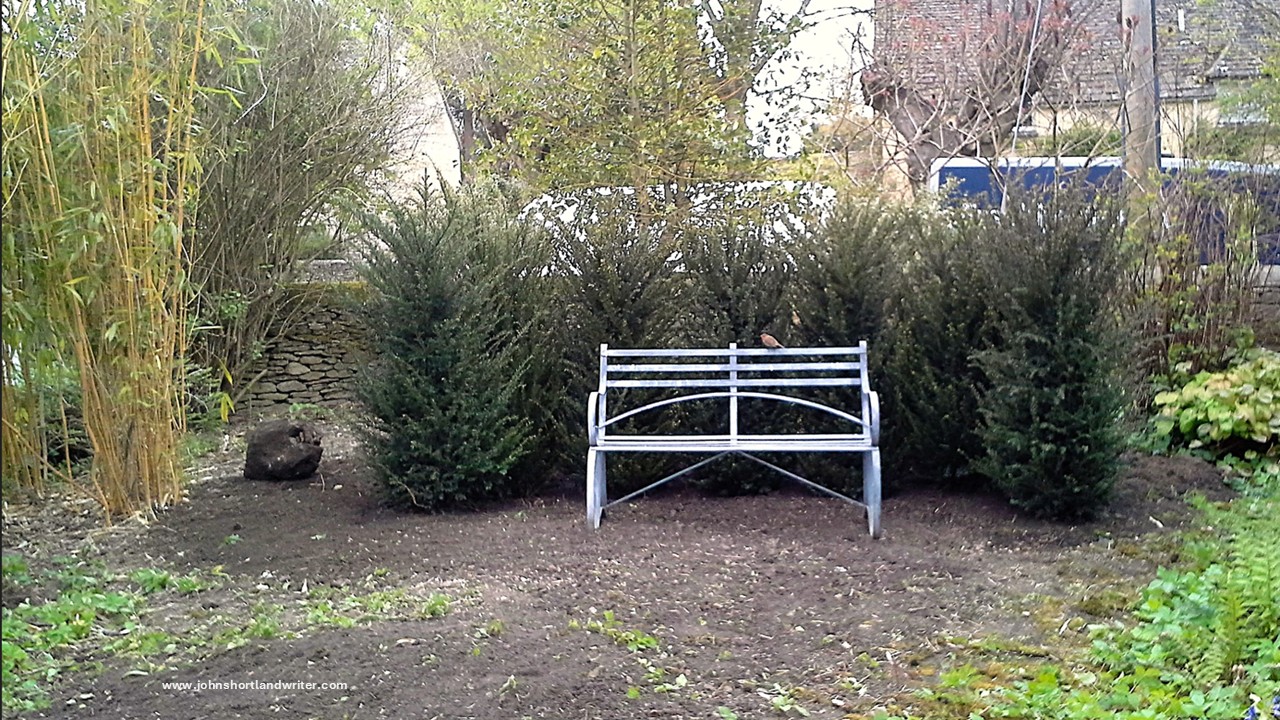
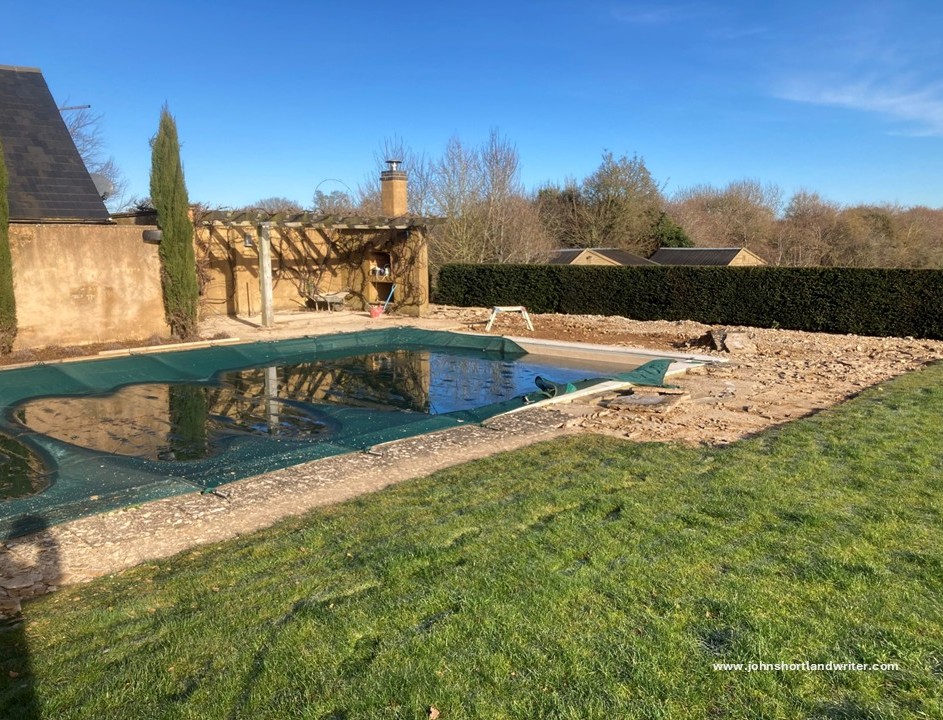
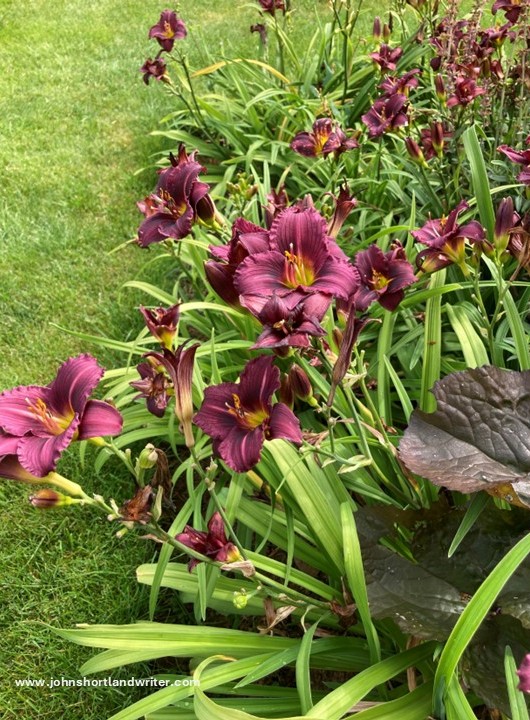
The change of levels meant that a sizeable terrace was needed and at 25m x 8m (82ft x 26ft) I proposed that this would be the perfect place for a formal rose garden. Roses are beautiful when in flower but look dreary during the winter, especially when seen en masse. Here they would be hidden from view but during the warm, summer months their heavy scent would rise to entice the garden visitor to literally follow their nose. Reaching the steps that lead down to the parterre they are hit by a dazzling display of colour creating a (good) visual shock. With the shelter and warmth provided by the terrace walls and some yew hedging, the roses have thrived. The photo below was taken this week, just over three years since they were planted.

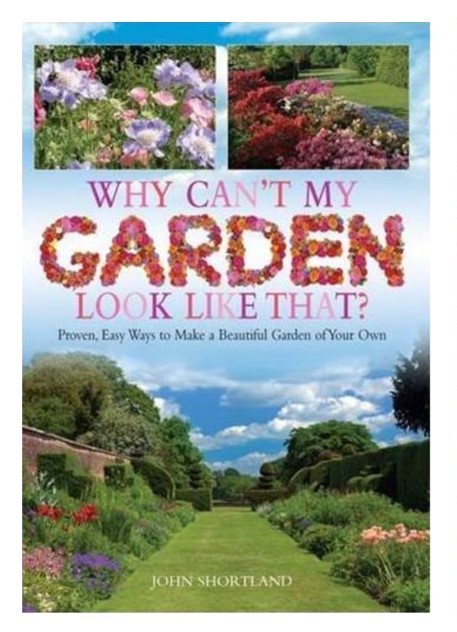
Walking through the parterre I was pleased that I had decided to plant just four varieties, all with rich, vibrant blooms. However, it also made me ponder on the countless roses that I have grown over the years and which were, to me at least, the best. Could I restrict myself to just choosing ten? Well, here goes and not in any special order.

Queen of Sweden Surely this must be everybody’s idea of what the perfect rosebud should look like? It’s a tall, upright rose not unlike the Queen Elizabeth rose although I think it has the edge on that one. I have only ever grown it in one garden and perhaps unsurprisingly, the owners were Swedish. I like to think that hasn’t influenced my choice! It’s good as a cut flower and excellent as a buttonhole.

Rosa de Rescht I first came across this heavily scented moss rose in the garden of an elderly artist where she grew it as a low hedge lining a pathway. Over the years, I got to know her well and she told me it had been planted by her mother when she was a child, so it is obviously a long-lived and trouble-free variety. It is upright, suckers freely but in a good way which means that it never looks straggly or sparce. Best of all, the suckers flower true to type so can be used elsewhere. I was given some several years before the artist died and they have flourished in my own garden. They are disease free and I have discovered that they thrive equally well in semi-shade under trees. You can read more about this rose here.

Rosa Ghislaine de Feligonde This is quite a ‘new’ rose to me. A climber, I planted it to scramble along the top of a garden wall in a client’s garden where instead it sulked for about three years at its foot. I was about to remove it as a failure when it suddenly put on a spurt of growth to become the beauty that it is now. Is it slow to establish or was it just slow in that particular spot? I don’t know the answer but how glad I am that I didn’t condemn it to the bonfire.

Rosa Weichenblau The so-called ‘blue’ roses are not everybody’s cup-of-tea and I have mixed feelings about them. Some I love, others, I’m not so keen. That’s mostly down to colour as the blueness can vary in intensity. I like this rambling rose enough to have it in my own garden where it flowers happily along an old wooden fence filling the garden with perfume for a relatively short period of time. This one I tend to let travel where it wants as periodically quite large lengths of it suddenly die. I’ve never worked out quite why and it doesn’t really matter too much – I just prune it out and fill the space with the new growth which it regularly sends out.

The Crocus Rose A pale, creamy beauty from David Austen. I grew this shrub rose in a border combined with apricot-coloured roses; the spaces in-between filled with tall spikes of blue campanula and purple salvias. All were contained behind a clipped box hedge and it created a lot of interest. One of the advantages of being a working gardener (I always feel the term ‘professional gardener’ sounds rather dismissive to all those very talented and knowledgeable home gardeners) is that I get the opportunity to experiment with both plants and planting styles and in many different sorts of soils. However, in this instance, I’ve never tried to recreate it despite its success.

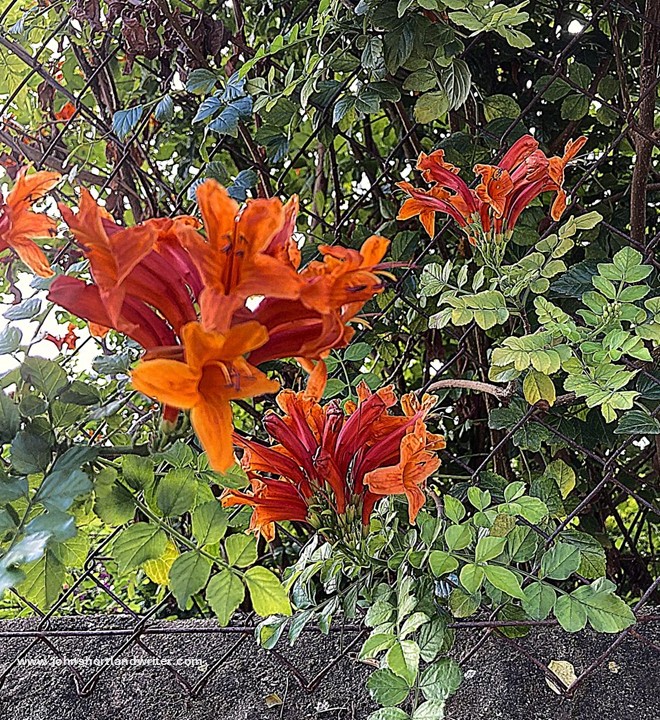
Rosa x odorata ‘Mutabilis’ I find this a fascinating shrub rose as it has all the colours of the sunset in one flower: the buds start a very deep pink, the flowers open to a rich pink and gradually fade to apricot. The result is this multi-coloured rose which, with its single flowers being produced prolifically and over a very long period, the effect is mesmerising. It is an open shrub rose with rather wiry, lax branches and so it can get a bit straggly over time. I’ve found that it responds to quite hard pruning although it isn’t as fast to recover as the modern hybrid roses. In my present garden it copes with quite windy conditions, and in one place it has sneaked its way in amongst a wall-grown climbing rose where it has reached a height of five feet. I’ve never tried growing it solely in this way, it would be interesting to find out how it looked. This plant has had several name changes over the years so you may find it offered for sale as Rosa chinensis ‘Mutabilis’ or just Mutabilis Rose.

Gertrude Jekyll Named after the Edwardian garden designer, this vigorous rose is usually sold as a climber where it can reach ten feet. However, if pruned hard each winter and then pruned into shape, it can be grown as a modest sized shrub. Either way you’ll be treated to these superb blooms. I grow it as a climber but I do prune some stems quite hard to make sure that I have growth of all heights. Left to itself all the flowers will be high above eye level on long stems which make fabulous cut flower arrangements in tall vases.

Blush Noisette Probably best described as a short climber. My experience is growing it in the corner of a high wall where I only tie in the occasional branch, the rest remaining free yet upright. It is smothered in these small, almost double flowers and if regularly dead-headed will flower throughout the summer. Completely trouble-free, it never seems to get attacked by disease or pests.

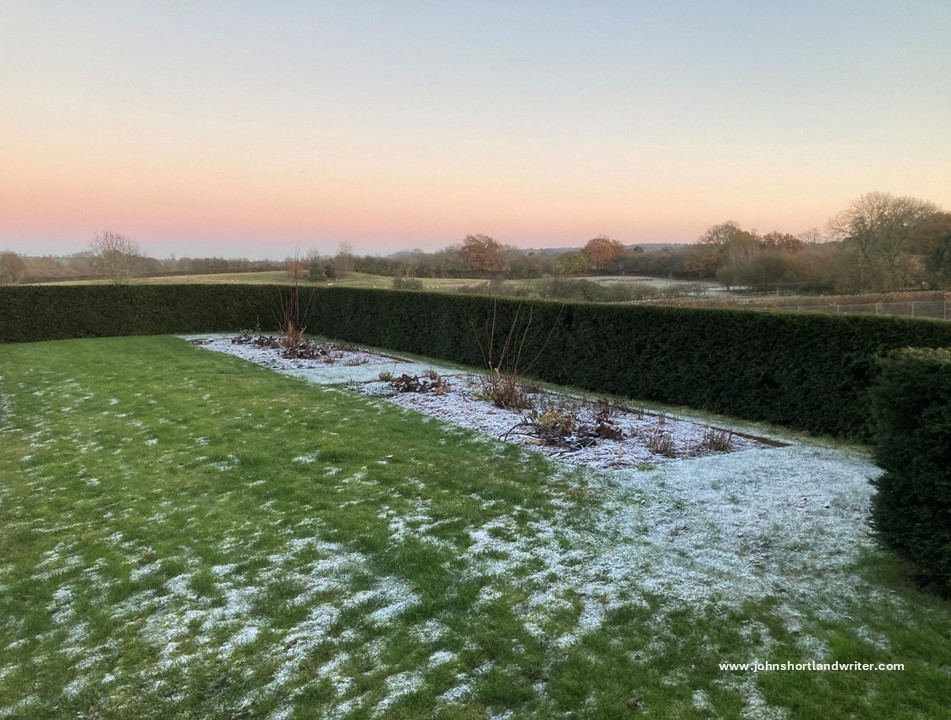
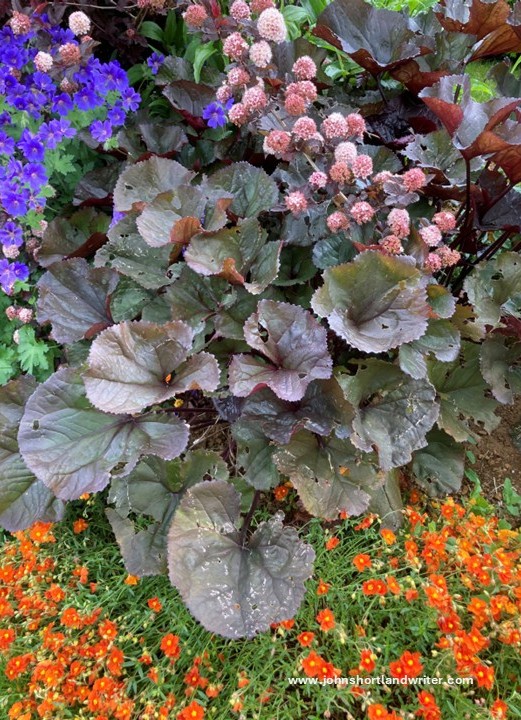
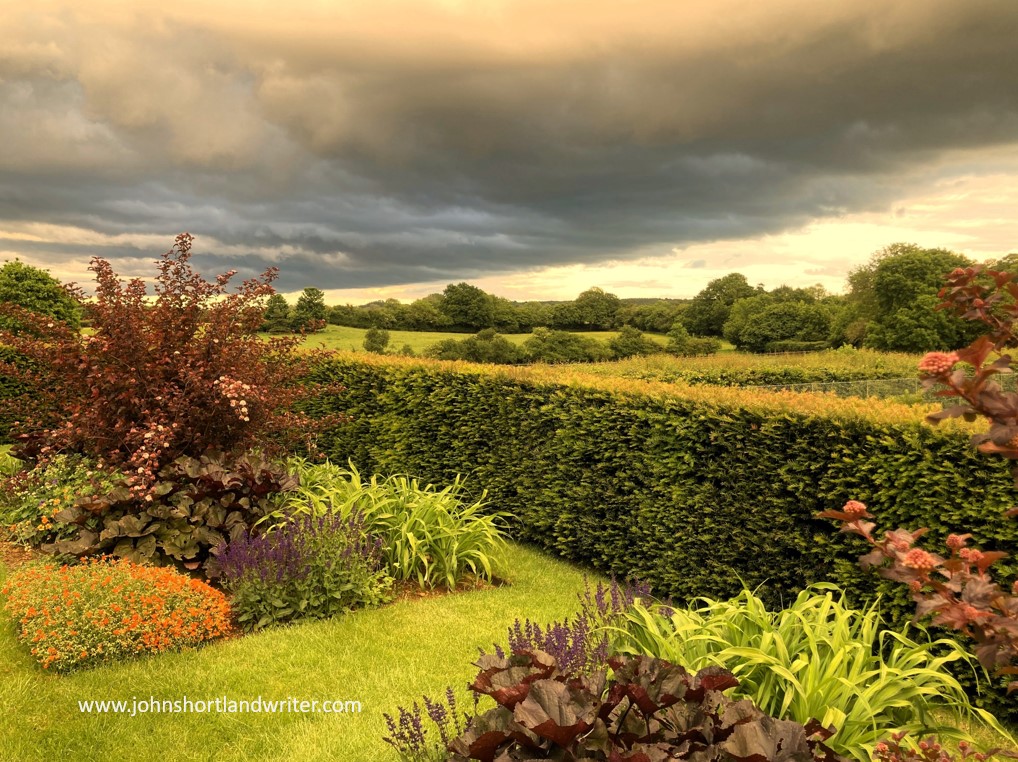
Rosa glauca Don’t be fooled by the garden catalogues showing a pretty pink almost star-like flower for, as can be seen in the lower left corner of the image below, they are fairly insignificant. This rose (sometimes sold as Rosa rubrifolia) is grown for the colour of its young leaves and stems, making it much more of a foliage plant. A shrub rose, if left to its own devices the colour fades: to maintain its colour interest it needs to be quite hard pruned during the winter to encourage new growth. In the photo below, I planted a trio of them in an herbaceous border with the poppy ‘Patty’s Plum’ in their centre. This poppy always collapses just as it flowers and, as I hoped, here it has become caught on the rose thorns saving me the task of staking and tying them in. I treat the roses as if they were herbaceous plants and so they are cut to within a few inches of the ground in early winter along with all the other plants in the border.

Dog Rose It may surprise you to find included here our wild rose of the hedgerows, Rosa canina. I’ve only ever grown it once and that is here in my own garden. Appearing as an unasked-for bird-sown seedling at the foot of iron estate fencing, any attempt I made at cutting it out only increased its vigour. I don’t like using weedkillers much and so I accepted defeat and decided to try and tame it instead. We have reached a truce: I prune out only the longest stems it continually produces and it, in return gives me a splendid, if short-lived display of beautiful pink and white blooms that the bees and other insects love. Left on, I then have another display of bright red rosehips through early winter after which, it has a severe haircut. The result has become the talking-point of our garden. As I have learnt over the years, sometimes the most unexpected plants or combination of plants give the greatest pleasure.